Short answer: ISO 12800 is usable for wildlife photography when you need the shutter speed and the picture will be seen at a normal size. Modern noise reduction recovers much of what looks lost, but not the finest micro-detail, so what the picture is for decides whether it works.
Somewhere along the way most of us pick up an ISO ceiling. We learn it through reviews, forum threads and pixel peeping our own images in Lightroom, horrified at the fuzzy mist covering them. For many wildlife photographers it sits around ISO 6400, and for me it sat there for years.
For most of the day, on most days, that’s not an issue. At dawn or dusk, though, ISO becomes a companion that does its best to help but always seems to limit what you can do. This is even more the case if you are not one of the few who can afford a 400mm f/2.8 or a 600mm f/4 lens. When I’m out after sunset with my 200-600mm on the Sony a7R VI, I’m already one to two stops of light behind the best lenses, in conditions that aren’t easy whatever lens you carry.
Wildlife, even at rest, doesn’t sit still. Animals turn their heads or make small movements, so you need a shutter speed to match. Keeping that shutter speed means cranking up the ISO, and for fear of noise many photographers lower the shutter speed instead. I think, especially today, that despite the limitations we should embrace high ISO shooting, because it opens up some of the most interesting times of day for wildlife photography. I’ve printed and sold large images shot at ISO 12800, and I think we misjudge two things: how much detail noise reduction brings back, and how much detail a photograph needs in the first place.
When is high ISO unavoidable?
Turning up the ISO is rather like turning up the volume on a radio tuned to a distant station. The music gets louder, but so does the static. Once you’ve maxed out your aperture and shutter speed, you have a fixed amount of light entering the lens, and ISO amplifies what that light gives you. In ideal conditions I shoot at as low an ISO as I can, but ideal lighting conditions and ideal wildlife photography conditions are not always the same. At dusk, when many crepuscular animals are active, the light drops low enough that for moving subjects there comes a window where shooting above ISO 6400, even up to ISO 12800, is your only option. That’s true whether you shoot at f/2.8 or f/6.3. A faster lens extends that window deeper into dusk rather than eliminating it. All of this brings us to the thing photographers, for good reason, try to avoid: noise.
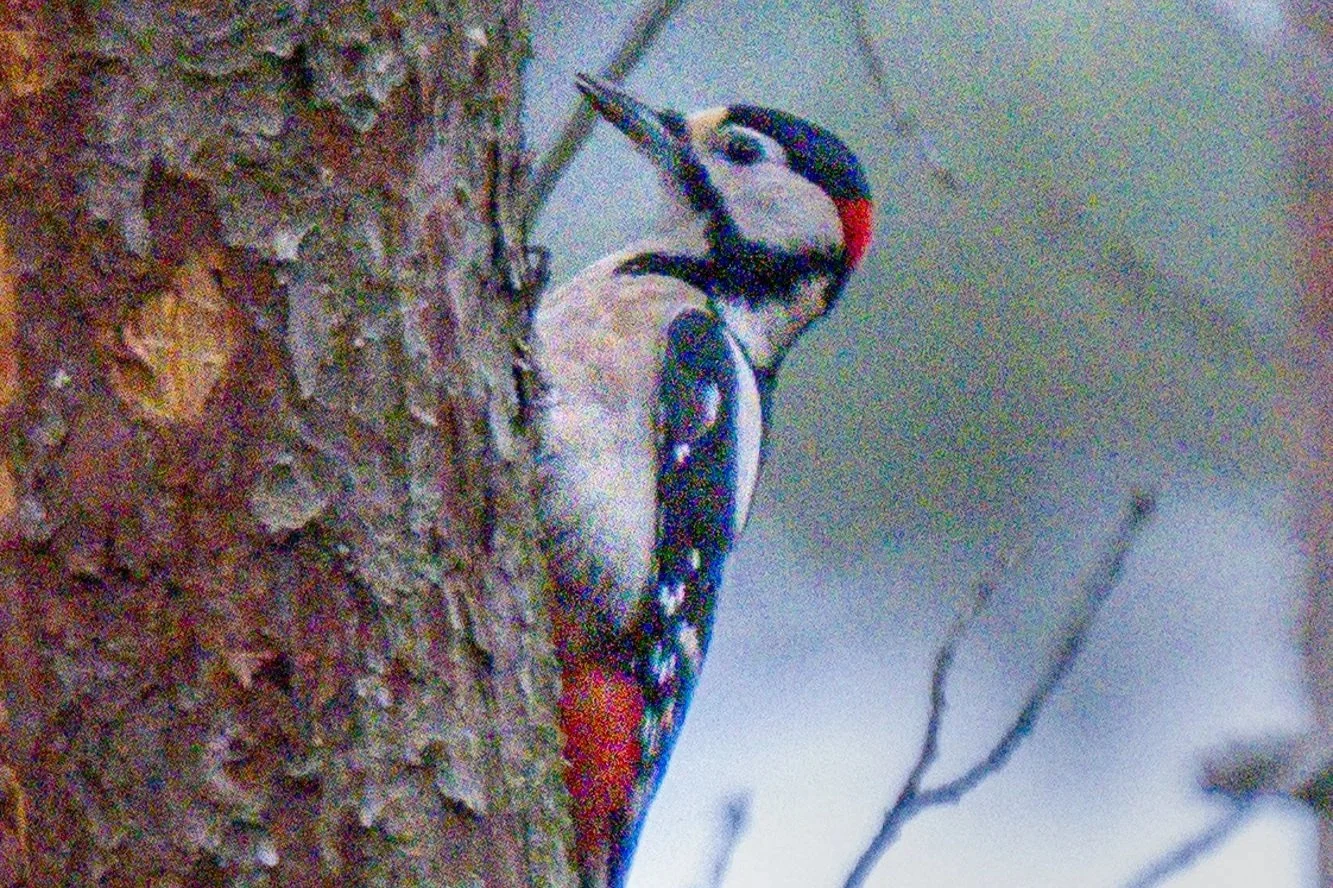
Noise is one of the banes of wildlife photography, precisely because we so often shoot at dawn, dusk or under a dense woodland canopy.
How much detail can you recover with noise reduction?
Noise does not look good. It distorts colour, behaves like a dense dust cloud and covers the micro-detail in your images, especially at very high ISO levels. At 100% in Lightroom it lies across the frame, with grain through the feathers or fur and speckled colour in the shadows, and many photographers, myself included, conclude that the picture is not recoverable. Luckily that’s not always the case.
Modern noise reduction software has come a long way, especially in the last five years. It isn’t magic and can’t recover detail the sensor never captured, but it separates grain from real detail far better than it used to, and many photographers still underestimate it. I use Lightoom’s own denoising tool. Generative AI tools, which add detail that was never there, are a different matter, and I don’t recommend them for wildlife photography if you want to keep your images genuine. The answer, then, is quite a lot, but not everything, and not the micro-detail. That leaves us with a usable image. How usable depends on what you expect from it. This brings me to what we rarely discuss when we discuss noise reduction: what the picture is for.
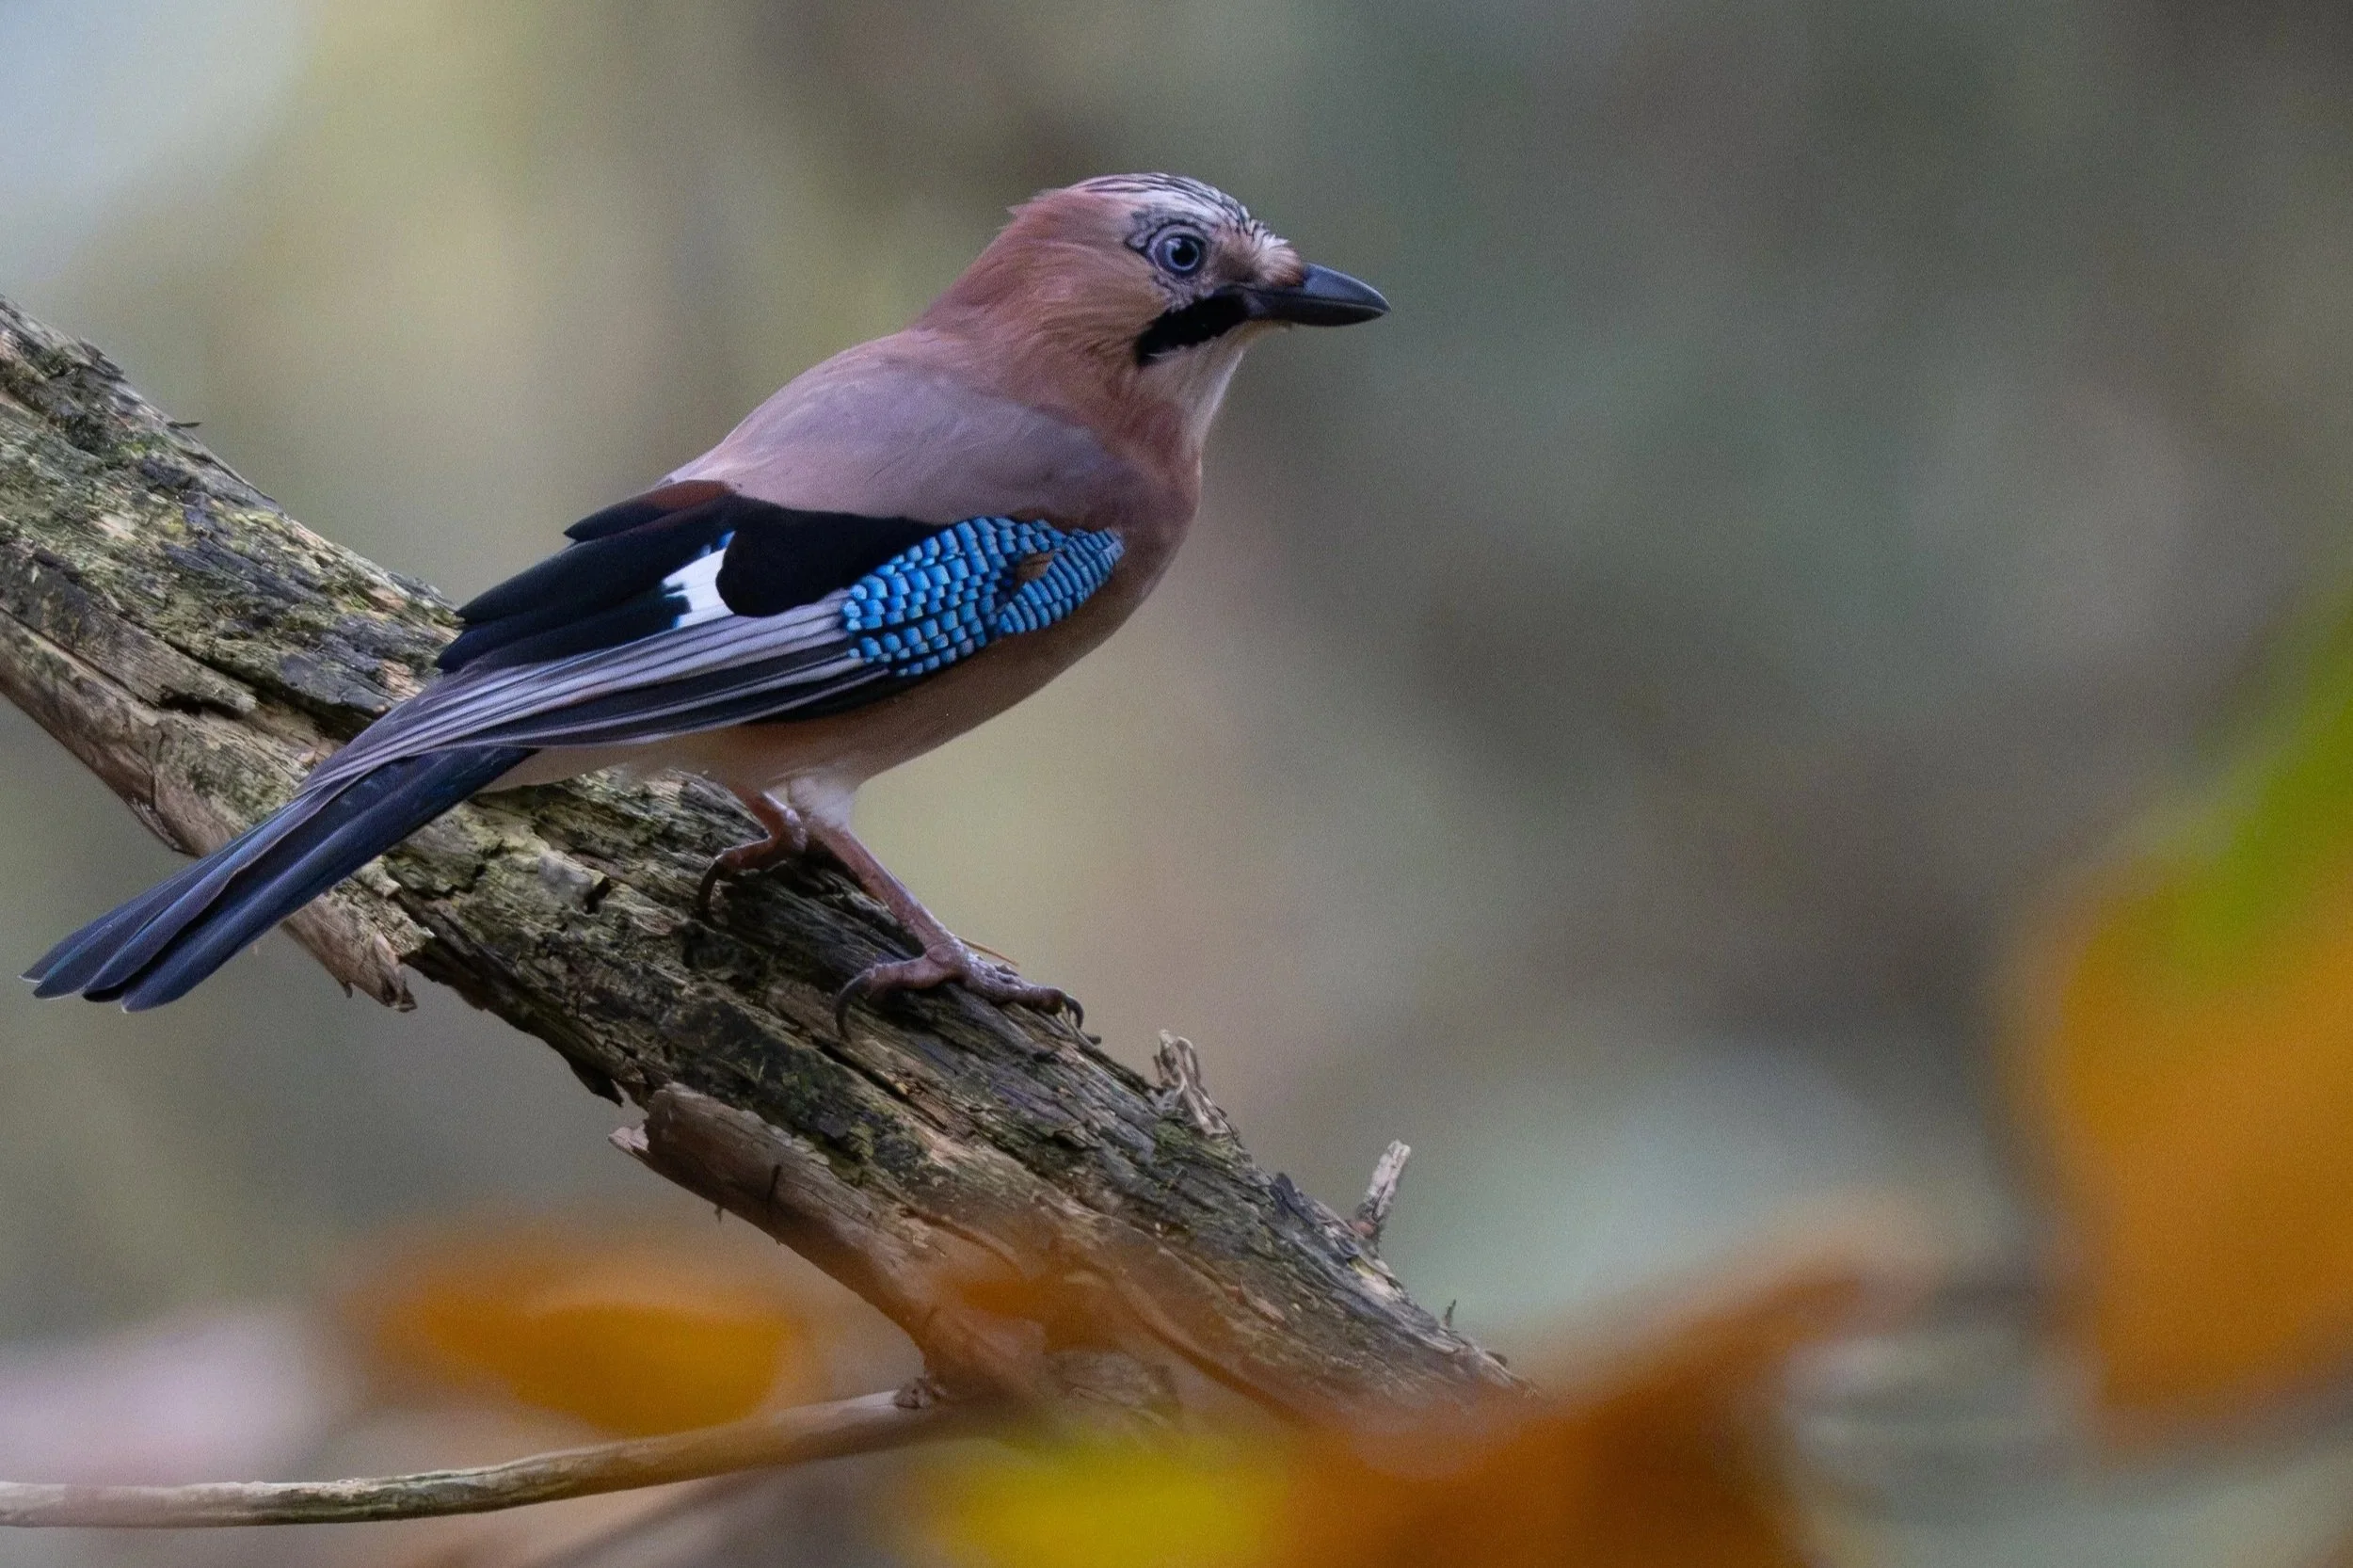
This Eurasian jay was shot at ISO 12800, then cropped to 30% of the original image. Though fine feather detail is missing, I would be happy printing it at small sizes.
How much detail does a photograph need?
Stand a few steps back from a large print and the individual hairs or barbs of a feather stop being visible, no matter how sharp the image. What remains is the outline of the wing, the texture of the feathers or fur, the dark bead of the eye with its small catchlight, the edge of the beak, the shine on the nose. Those features also make an image look sharp, and they survive high ISO far better than the finest texture and detail do. Lose some of that texture and a picture can still look detailed, as long as the rest holds and your composition doesn’t demand more. It also helps to remember that on a high-resolution camera, 100% on a screen is far more magnified than anyone ever views a print.
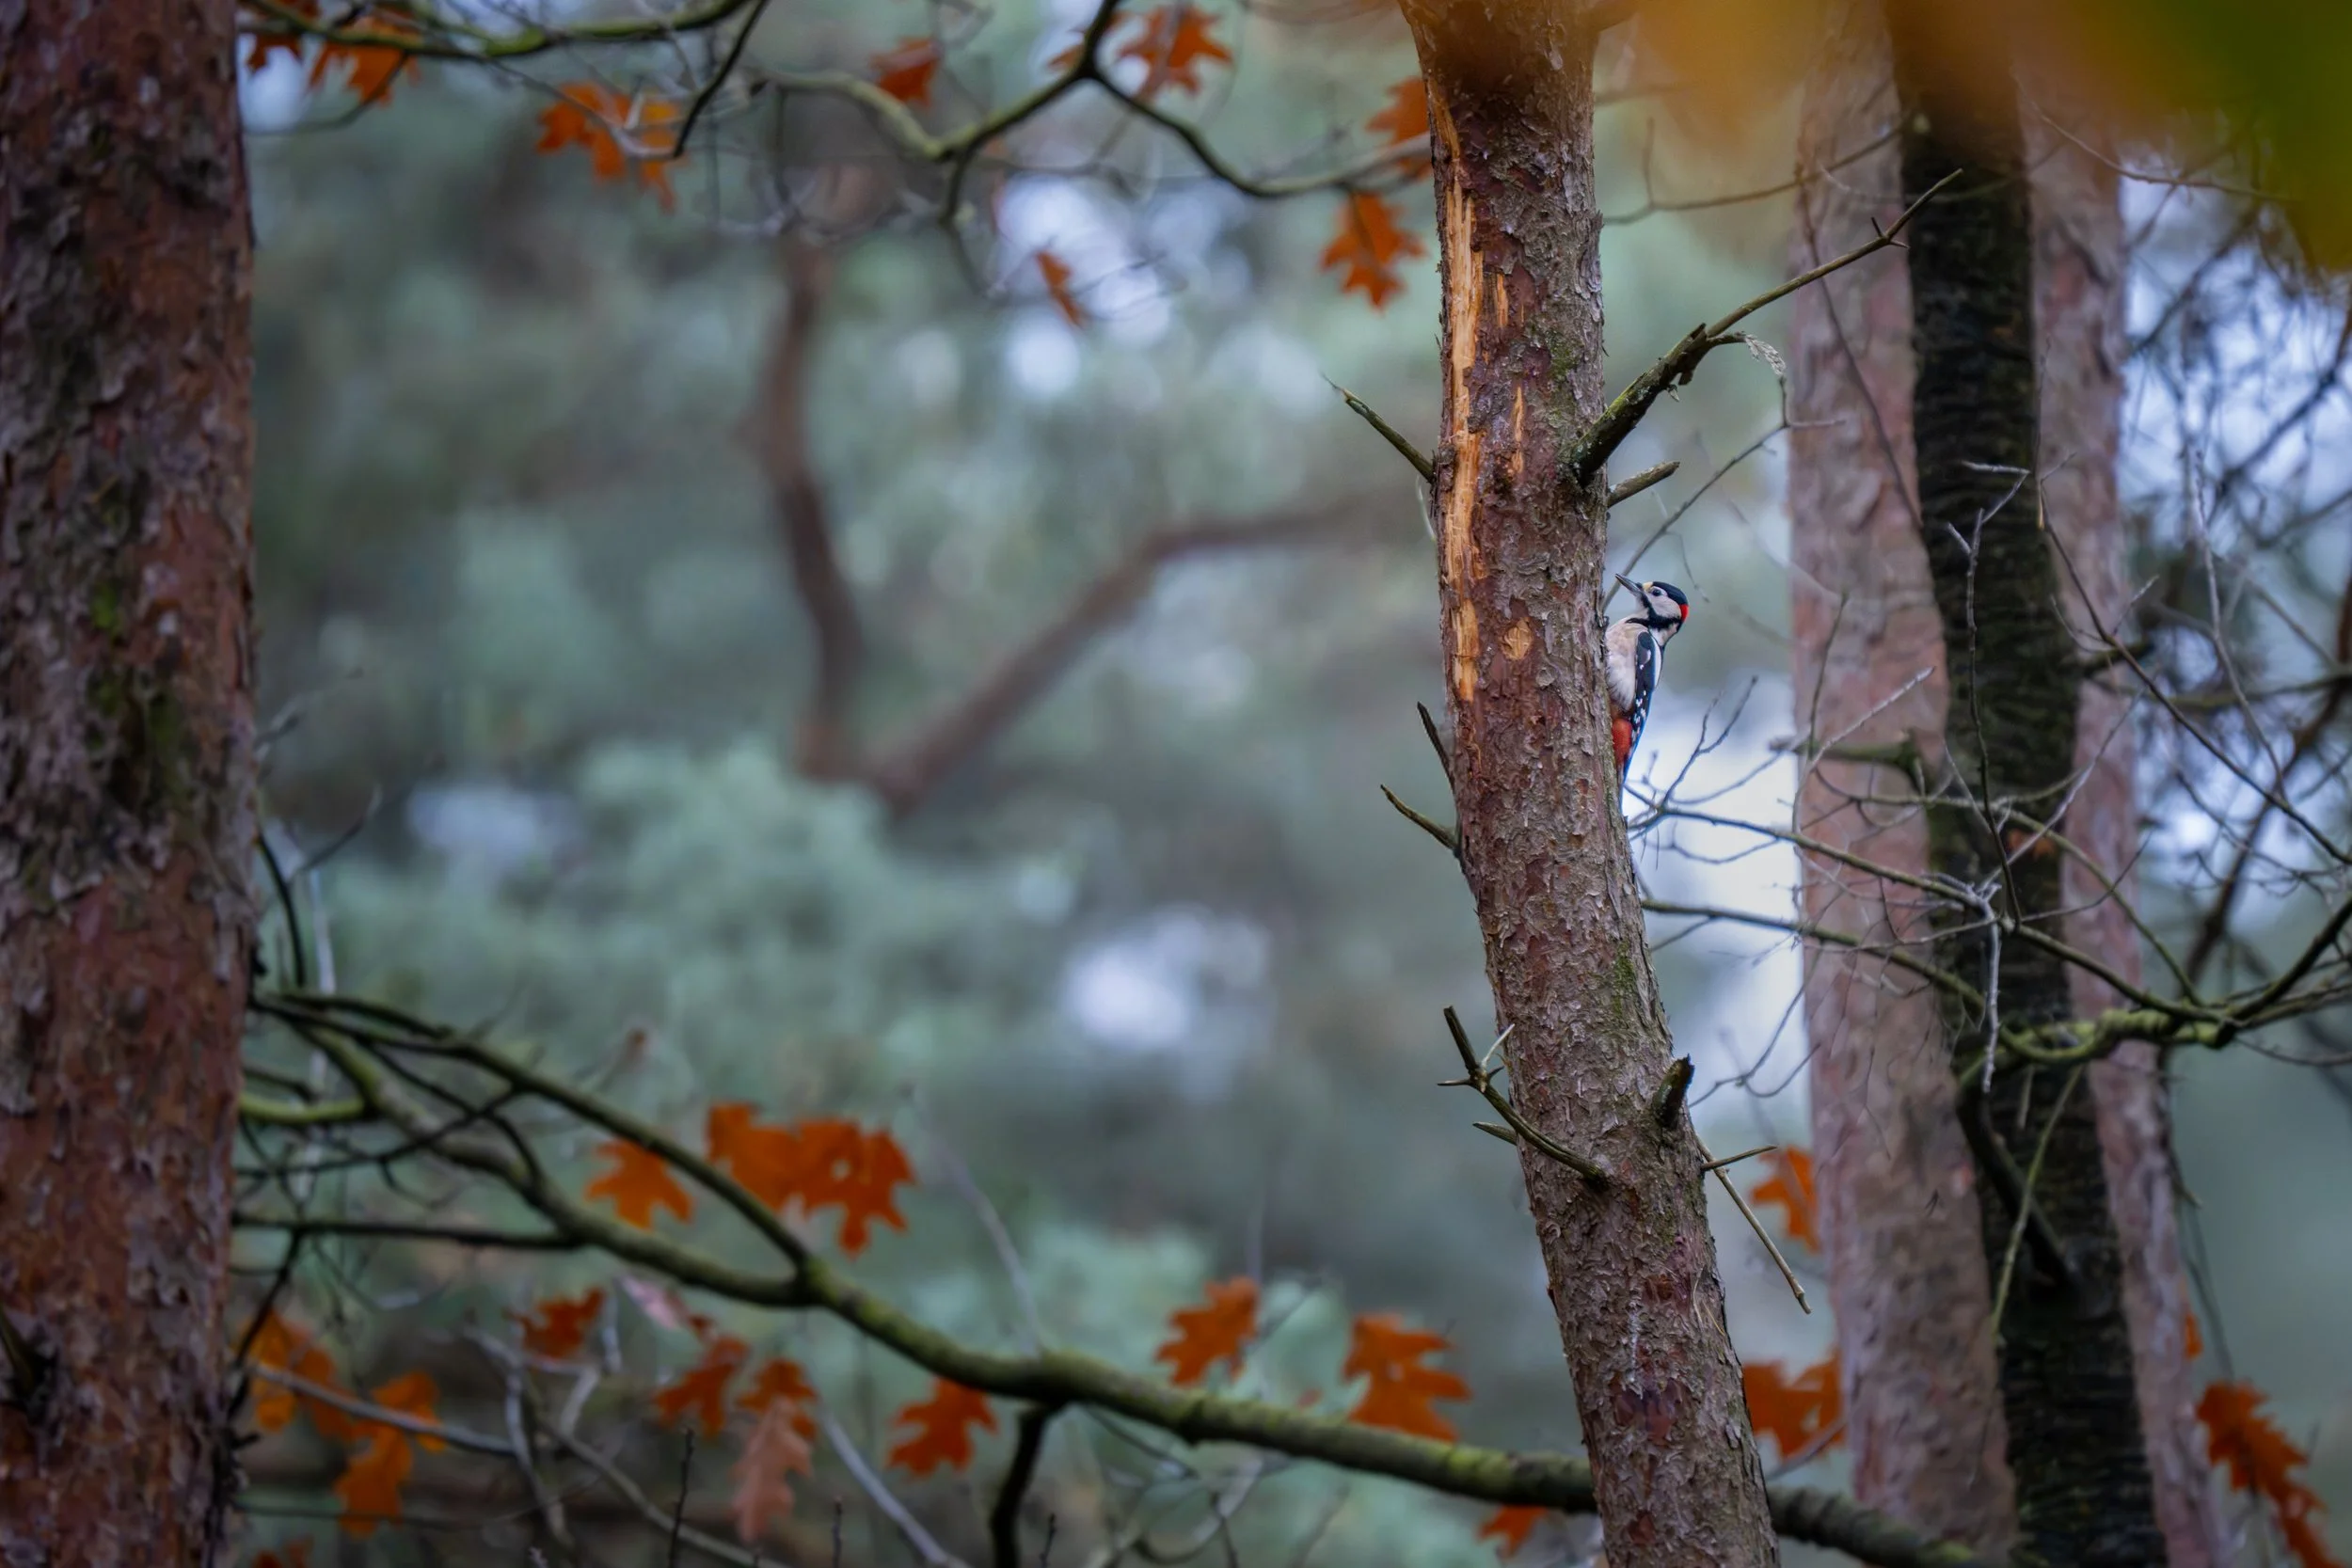
One of my favourite shots this fall, taken at 600mm, f/6.3 and ISO 12800, yet more than sharp and detailed enough even when printed large.
How much detail you need depends on what the photograph is for. A tight portrait of a robin that emphasises its structure and texture pulls the viewer into the feathers, and there an image without the very best micro-detail is much less forgiving. For images like this I take the lower ISO whenever the light allows, and compose differently when it doesn’t. The same robin shown in its environment has different requirements. Is there enough texture that you can feel the feathers even without micro-detail? Are the eye and beak sharp? An animal in its habitat, seen from a few steps back, asks for much less. Keeping this in mind means ISO requirements inform your composition choices as much as they limit them.
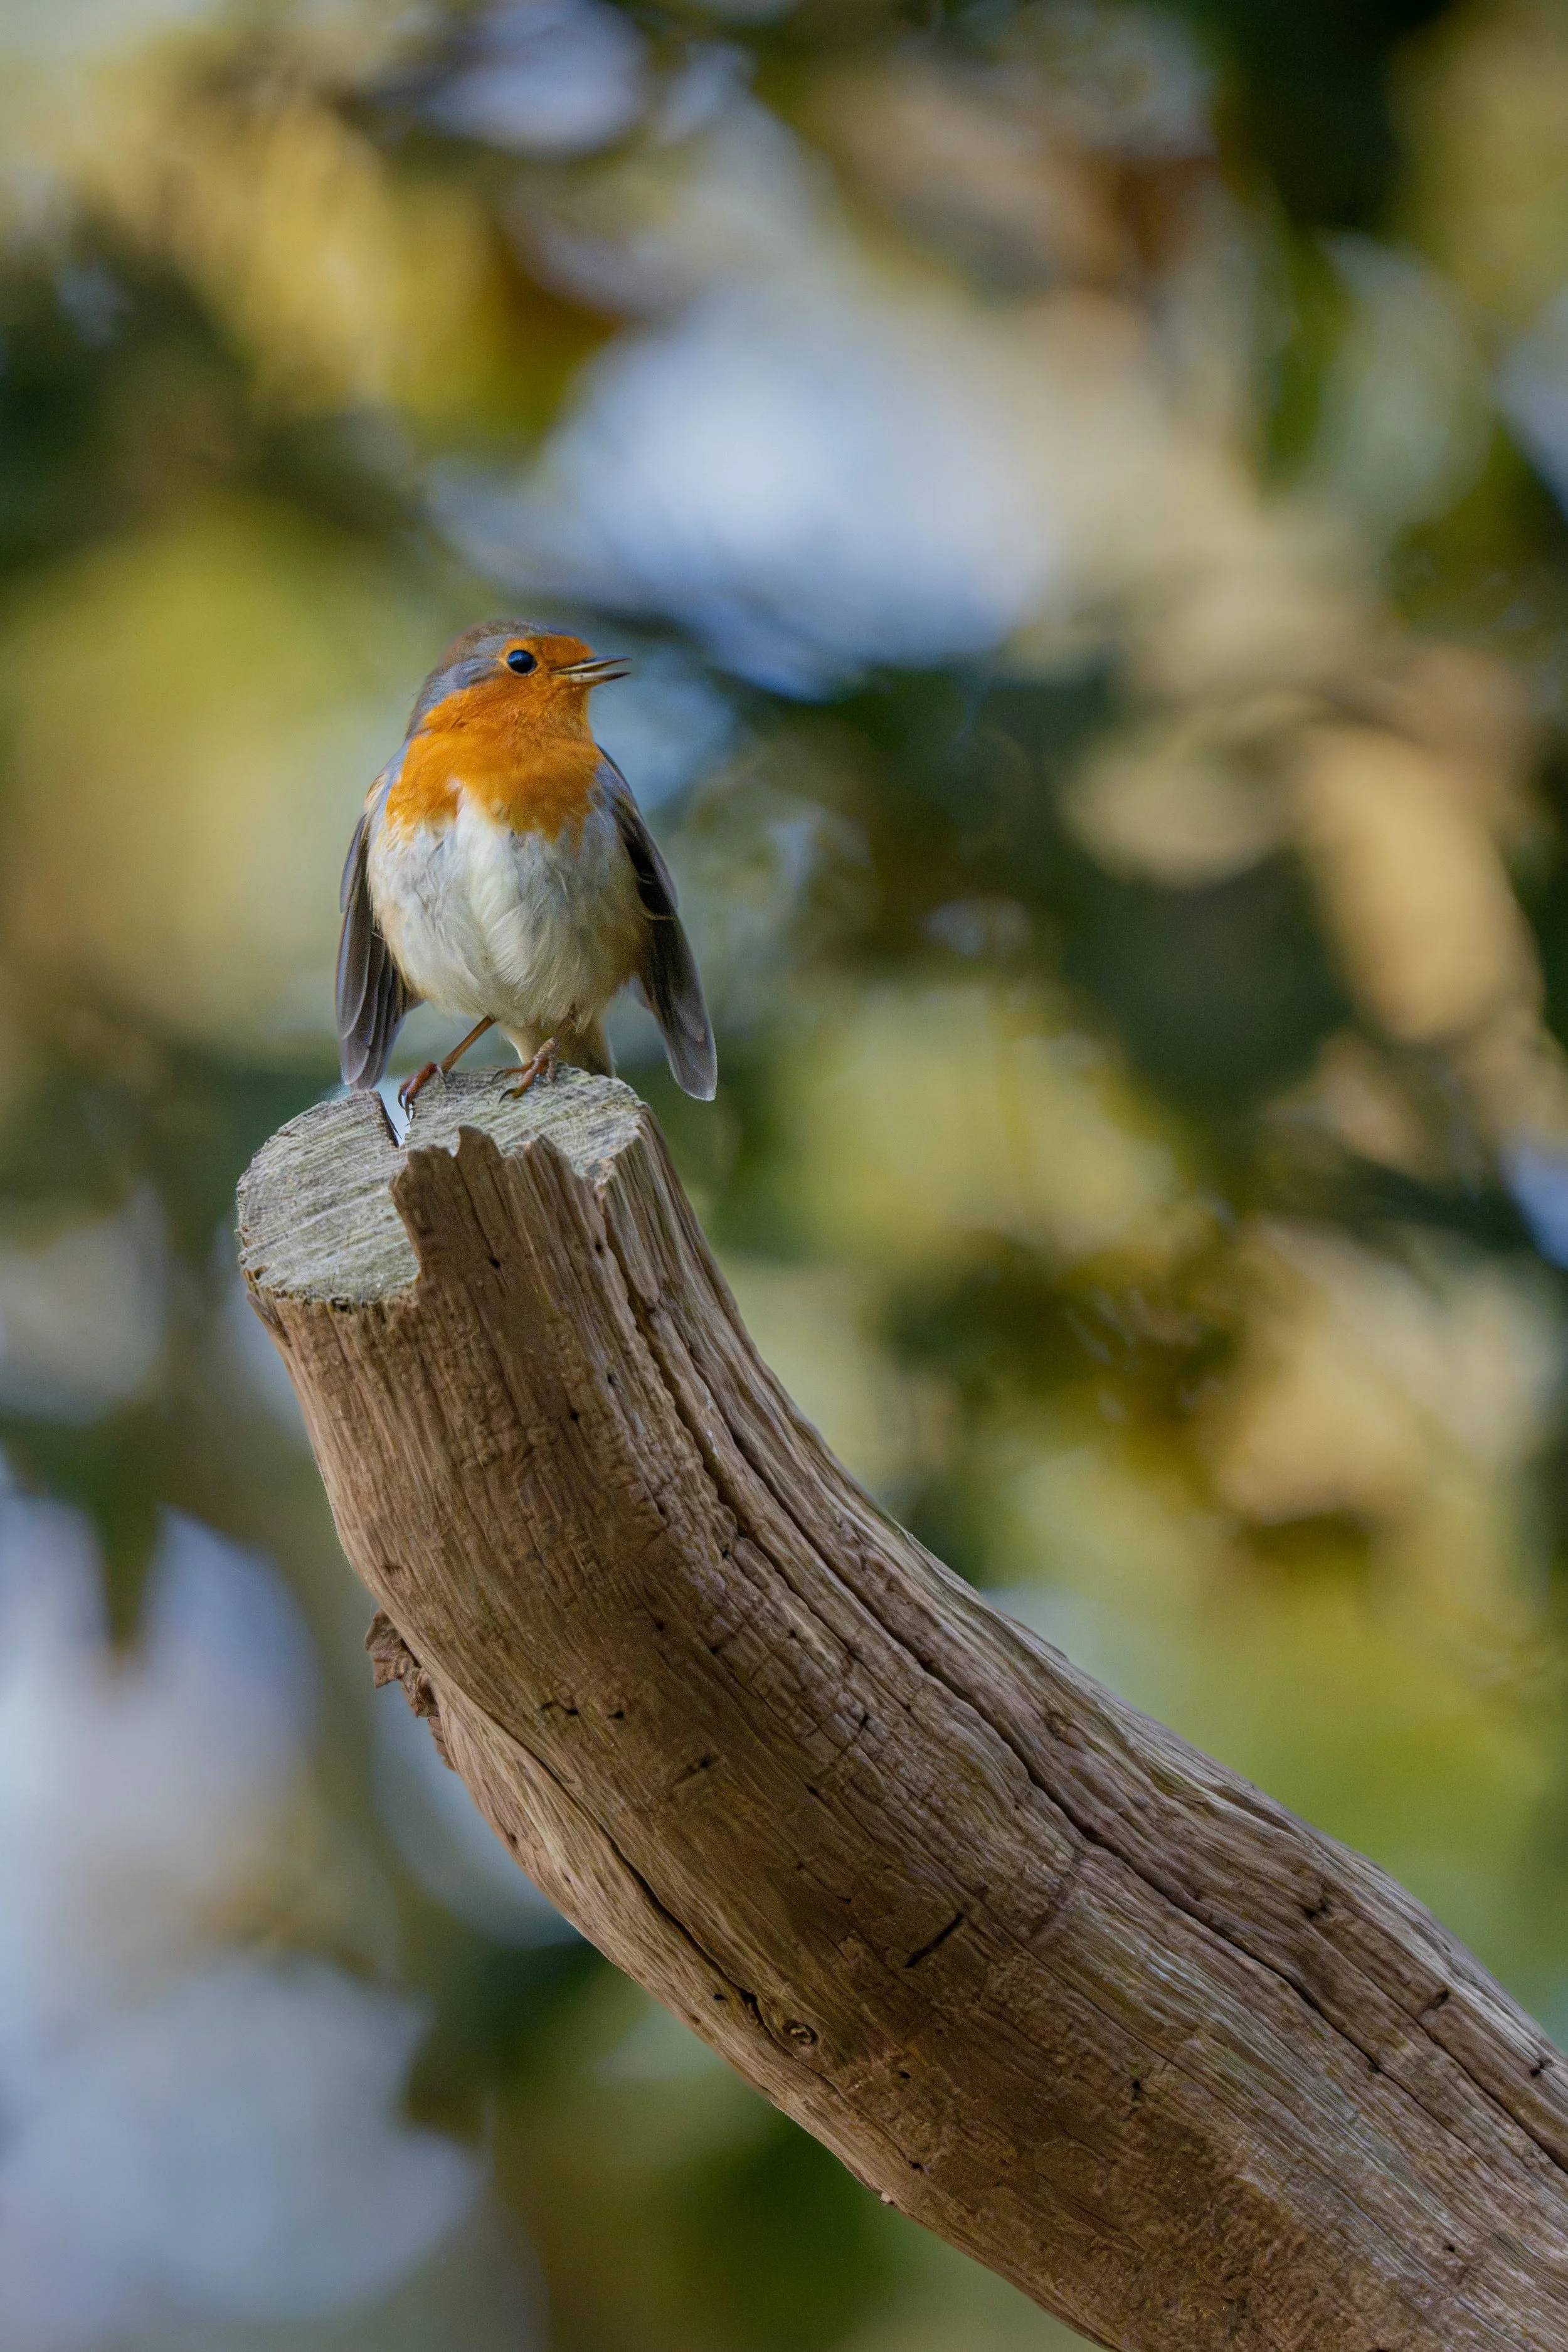
An environmental portrait of a robin at ISO 12800.
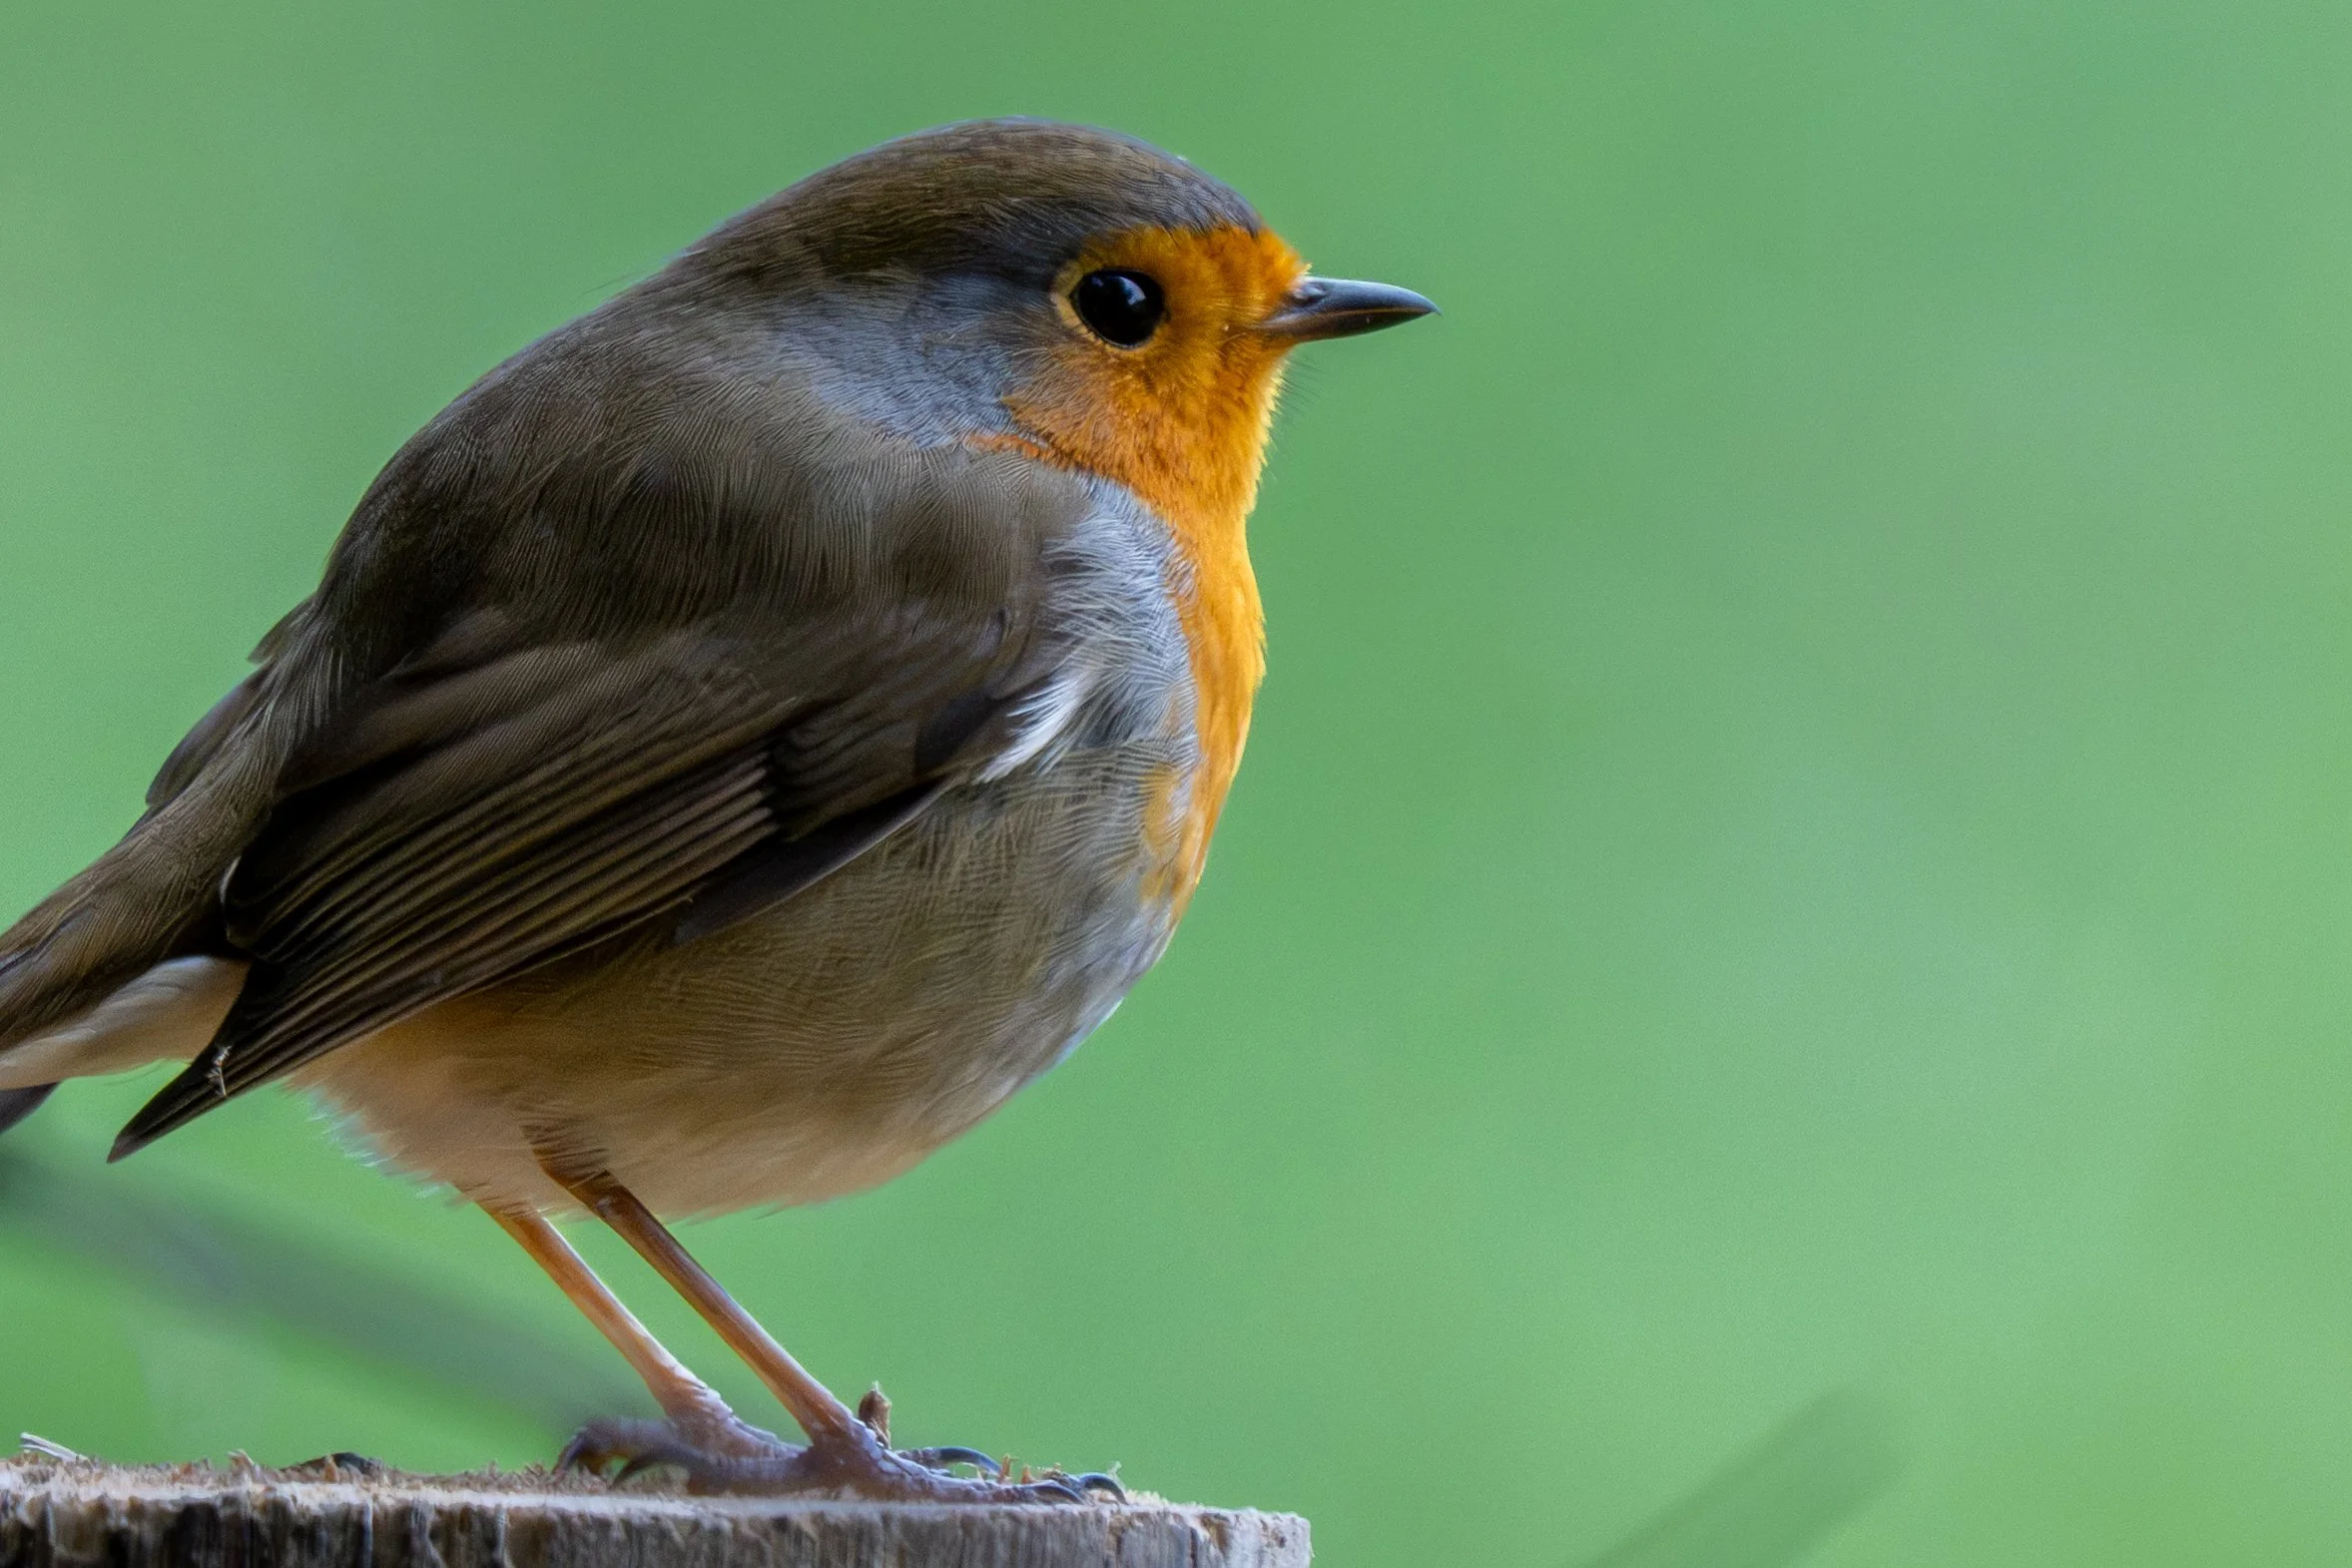
A close-up portrait of a robin at ISO 4000.
There are limits. I can’t take an incredibly detailed, tack-sharp portrait at ISO 12800, but that doesn’t mean I can’t take great images at ISO 12800, or that I can’t print them. It means more keepers, more time windows outdoors and more fun: deer at dusk, owls, voles, or just staying out longer with your camera, no matter the subject.
How do you find your own ISO ceiling?
Your camera, lens, standards and software will not match mine, so test it out. It takes about ten minutes:
Find a subject that stays still, in dim light, preferably past sunset, and use your fully open aperture. Use a tripod or beanbag, because your shutter speeds will get slow at the lower ISOs.
Shoot it at ISO 3200, 6400, 8000, 10000 and 12800, one after the other, changing only the shutter speed to hold the exposure. Light changes quickly after sunset, so work fast.
Process all of them identically, with your usual noise reduction.
Export at the size you actually print or publish.
View them at the distance you would view that print, then again at 100%. Keep in mind that for very large prints the viewing distance increases too.
The ISO where the picture falls outside your standards, for that kind of subject and composition, is your ceiling. For many people it turns out to be higher than the one they’ve automatically been keeping.
What are my ISO ceilings?
These are my own limits on the a7R VI, with noise reduction. Yours will depend on your camera, software and standards.
Portrait where every feather matters: up to ISO 4000
Detailed look, less critical sharpness: up to ISO 6400
Environmental or small in the frame: up to ISO 12800
I go to ISO 6400 when I want a really detailed look but don’t need the extreme sharpness I get below ISO 4000. I’ve also had great detail at ISO 12800 when the subject is large in the frame, though never enough for a really fantastic portrait.
Limitations, and how to avoid them
Embracing high ISO is a good thing, but keep in mind it doesn’t always work out immediately. Noise reduction pushed too far gives everything a textureless, plastic look that doesn’t flatter your images, so a careful balance is needed. Relying too much on sharpening after denoising also makes edges look unnatural and can even add shapes to your images that weren’t there in the first place. Smooth areas such as a clear sky after sunset show noise sooner than leaves or bark, so pay attention to what is behind your subject. Avoiding all of this is a question of trial and error and experience. With enough practice you’ll know roughly how much you can get away with at a certain zoom level with a particular type of composition. Keep cropping in mind too, as a heavy crop exposes noise much sooner, with different tolerances than the same image uncropped. Most of all, keep shooting into the dusk or before and during dawn, and see what your gear gives you. The ceiling you find yourself is worth more than any number someone else gave you.
FAQ
Is ISO 12800 too high for wildlife photography? Not necessarily. It costs some fine detail and subtle colour, but a sharp frame with noise that can be reduced usually beats a blurry, clean one where the shutter speed wasn’t high enough.
Does noise reduction damage the image? It reduces micro-detail, and pushed too far it can give a plastic look, but if applied carefully the loss is limited.
Is a fast lens better than high ISO? When you have one, yes. An f/4 600mm gathers about 1.3 stops more light than an f/6.3. If you don’t have, or don’t have with you, a lens that fast, ISO will need to make up the difference.
How do I find my camera’s usable ISO? Shoot a still subject at several ISOs with the exposure held, process them the same way, and compare at the size you actually print. The test above explains how.